Have you ever wondered how we can bring our creative ideas to life through sublimation printing without needing the expensive and complex software like Photoshop or Illustrator? Perhaps the thought of learning these programs feels daunting, or maybe our budget simply won’t allow for such luxury. Whatever the reason, we’re here to explore alternatives that are not only cost-effective but also efficient and straightforward. Let’s embark on this journey together and discover how we can print those vibrant sublimation designs with ease!

Understanding Sublimation Printing
Sublimation printing is a fascinating process. It’s like watching magic happen as our designs transfer from paper to a substrate, often creating rich and vibrant colors. The science behind it involves transforming solid dye into its gaseous form without going through a liquid stage. This gaseous dye permeates the fabric or coating, creating a permanent print that won’t peel, fade, or wash away.
Why Choose Sublimation Printing?
The benefits of sublimation printing are numerous, making it a popular choice for customized apparel, mugs, phone cases, and more. The prints are highly durable and the colors are rich, producing high-quality results that stand out. Moreover, sublimation provides us the flexibility to create detailed and colorful designs.
The Limitation of Traditional Software
While Photoshop and Illustrator are powerful tools for designing, they often have a steep learning curve and hefty price tags. Not everyone has the time or resources to dive into these intricate programs. Fortunately, we’re not alone in this predicament, and several alternatives can help us materialize our creative vision without emptying our pockets or overwhelming us with complicated features.
Reliable Alternatives for Designing Sublimation Prints
Several user-friendly alternatives allow us to create stunning designs. Let’s delve into these options that cater to both beginners and seasoned designers, nurturing our creativity and simplifying our processes.
Canva: The Beginner’s Best Friend
Canva is a web-based application that provides us with a vast array of templates, fonts, and images. Its drag-and-drop interface makes customizing and personalizing designs a breeze, thus eliminating the complexities we might encounter in other software.
- Cost: Free with optional premium features.
- Features: Drag and drop design, rich media library, easy content integration.
GIMP: Open-Source Powerhouse
For those of us looking for a more sophisticated option without the expense, GIMP can be our go-to. It offers many features that Photoshop boasts, yet it’s entirely free to use.
- Cost: Free.
- Features: Photo retouching, image composition, and image authoring.
Inkscape: Vector Design Without the Hassle
Inkscape is another free alternative suitable for vector-based design tasks. It’s versatile and can produce professional-grade designs akin to those made with Illustrator.
- Cost: Free.
- Features: Vector graphics editor, supports multiple file formats, node editing.
Pixlr: For Quick Edits on the Go
Pixlr offers both basic and advanced editing capabilities right from our browsers. This makes it an excellent choice for those quick edits when we’re on the move.
- Cost: Free with premium tiers.
- Features: Robust editing tools, AI-powered features, cloud compatibility.

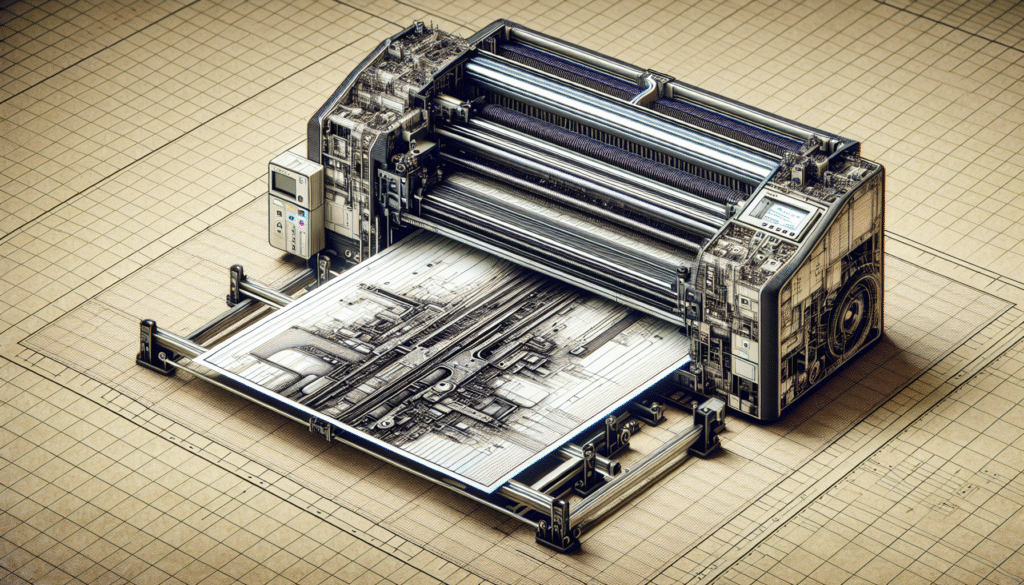
Steps to Print High-Quality Sublimation Designs Without Photoshop or Illustrator
Choosing the right design tool is just the beginning. To achieve the best results with sublimation printing, we need to follow a systematic approach.
Step 1: Design Creation
Begin by selecting one of the alternative design tools mentioned above. Here’s a simplified process using Canva as an example:
- Select a Template: Open Canva and search for sublimation templates suitable for our project.
- Customize the Design: Utilize the drag-and-drop feature to add text, images, and other design elements.
- Adjust Colors and Textures: Tailor colors to match our branding or desired theme.
Step 2: Exporting the Design
When our design masterpiece is complete, exporting it in the correct format ensures quality retention:
- Format: Choose PNG or JPEG for images, and PDF if the printer requires it.
- Resolution: Always opt for high resolution—usually 300 DPI for printing purposes.
Step 3: Preparing for Print
Before printing, it’s crucial we have sublimation paper and ink. Also, double-check our printer settings:
- Paper Type: Ensure the selected paper option is set to ‘Sublimation’.
- Print Settings: Use the highest quality setting.
Step 4: Printing Process
Once settings are adjusted, print a test sheet to confirm everything is perfect. We should pay attention to:
- Color Accuracy: Inspect colors closely.
- Alignment: Verify that the design aligns correctly within the intended print area.
Step 5: Transfer to Substrate
To complete the process, we prepare to transfer our design onto the chosen material using a heat press:
- Heat Press Settings: Adjust according to substrate manufacturer’s instructions—commonly between 350 – 400°F.
- Transfer: Position the design print-side down on the fabric or item, apply heat and pressure evenly.
Troubleshooting Common Issues
While following these steps usually leads to success, sometimes we might encounter problems that require troubleshooting.
Colors Not Matching Expectations
If colors do not turn out as expected:
- Solution: Verify printer settings, and ensure the ICC profile matches the ink and paper being used.
Blurry Prints
Blurry prints may ruin the design’s aesthetic:
- Solution: Confirm the file resolution is adequate and recheck the printer’s quality settings.
Misalignment of Design
Should our design be misaligned after printing:
- Solution: Reassess the layout and margins on the design software and make necessary adjustments.
Exploring Additional Resources and Options
In our journey to perfecting sublimation printing, we might find additional resources or tools helpful:
Online Tutorials and Communities
Numerous online forums and communities are filled with enthusiasts and professionals willing to share tips and advice. YouTube can also be a great platform for step-by-step video tutorials.
Workshops and Courses
Local workshops can provide hands-on learning experiences. Alternatively, consider online courses for deeper dives into sublimation printing techniques.
Conclusion: Embrace Creativity on Our Terms
Who needs complex software when we have access to tools that offer both simplicity and power? By embracing these design alternatives and following methodical printing processes, we can create stunning sublimation prints without the fuss of Photoshop or Illustrator. All it takes is a little creativity, patience, and reliance on resources designed to aid us on this artistic adventure. Whether we are creating for personal projects or lining up products for a business, the sky is the limit when we think outside traditional confines. Let’s relish in the joy of creating and sharing our vibrant designs with the world!