Have you ever found yourself wondering how to repurpose an inkjet printer into a sublimation printer? It might not be the first thing we think of on a slow Sunday afternoon, but for those of us with a creative edge or a knack for DIY projects, it presents an intriguing challenge. Converting an inkjet printer to a sublimation printer opens up a world of creativity, allowing us to print on a variety of surfaces beyond just paper. Picture it: personalizing mugs, t-shirts, and even home décor with your very own designs!
Before diving deep into the process, it’s important to understand what sublimation printing is. Sublimation, in simple terms, is a process where ink becomes a gas under the influence of heat and deposits on a surface, often polyester or polyester-coated items, in a permanent way. This makes our designs durable and vibrant.

What Do We Need for the Conversion?
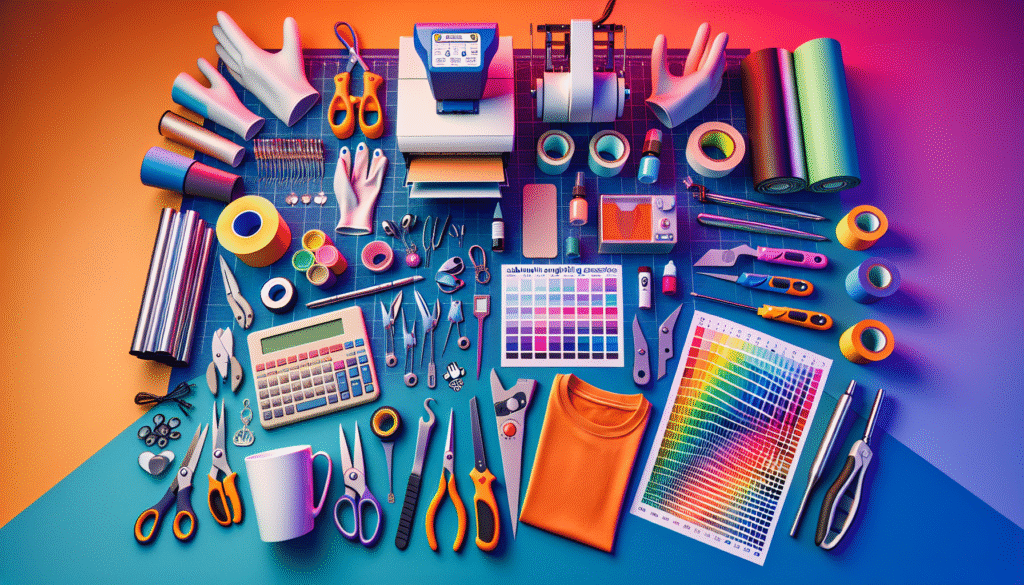
Before converting an inkjet printer to a sublimation printer, it’s crucial to assemble the right materials. Let’s look into what we need for this transformation.
Inkjet Printer
Not every inkjet printer is suitable for conversion. We require an inkjet printer model that has a removable printhead and is compatible with sublimation ink. Printers with wide acceptance for conversion include certain Epson models. It’s like choosing the right paintbrush for a masterpiece—critical to the success of the project.
Sublimation Ink
Sublimation ink is the magic potion in this entire process. Regular ink just won’t cut it as we aim for prints that transform with heat. The ink must be specifically formulated for sublimation printing, giving it the power to infuse colors into the material.
Sublimation Paper
Contrary to regular paper, sublimation paper is designed to hold and transfer the peppy sublimation ink onto new surfaces correctly. It’s the vehicle that carries our high hopes and vibrant designs from the printer to the physical medium.
Heat Press Machine
Once our ink and paper have done their job, it’s time for the heat press machine to step in. Acting like a giant flat iron for our dynamic duo of ink and paper, it applies the necessary heat and pressure to finalize the transfer of our designs.
| Item | Purpose |
|---|---|
| Inkjet Printer | Device for accommodating sublimation ink for printing designs. |
| Sublimation Ink | Special ink that transitions into gas for design transference. |
| Sublimation Paper | Medium to capture and transfer designs from inkjet to material. |
| Heat Press Machine | Tool for applying heat and pressure to transfer inks onto items. |
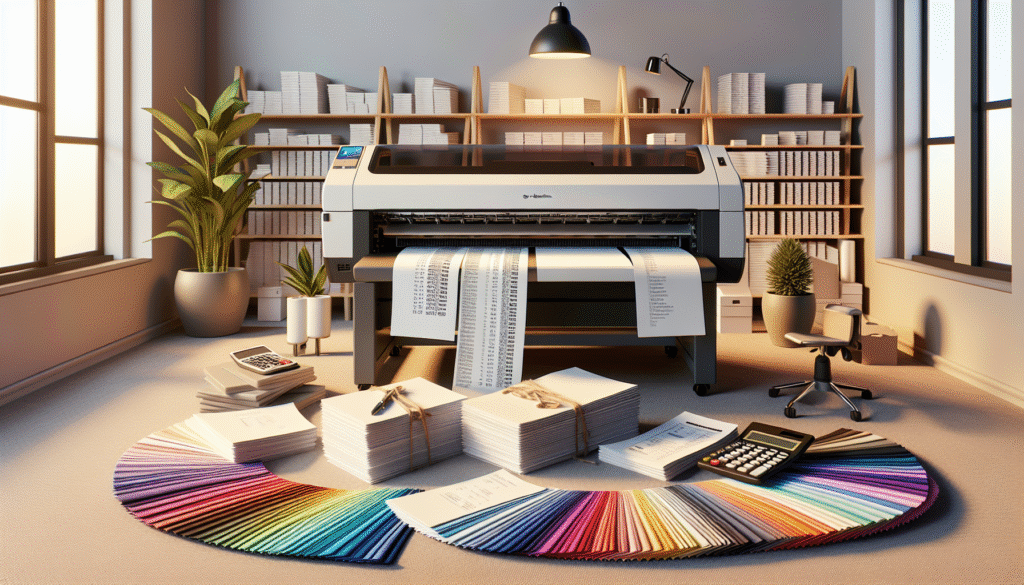
Steps to Convert an Inkjet Printer to a Sublimation Printer
Having gathered our resources, we’re ready to embark on the process of turning our regular inkjet printer into a sublimation powerhouse. It’s akin to turning a regular box of cake mix into a three-tier wedding cake—it takes an understanding of steps, finesse, and a sprinkle of patience.
Step 1: Choosing the Right Inkjet Printer
Let’s reiterate that not all inkjet printers can be used for sublimation. Selecting the correct model is crucial. We need to ensure that the printer’s printhead is removable, allowing for the easy installation of sublimation ink. Epson printers are often recommended due to their piezo print technology, which is compatible with sublimation ink.
Step 2: Installing Sublimation Ink
Once we’ve locked in our choice of printer, the next step involves draining the printer’s existing ink cartridges. Here’s where things might get a bit messy. Carefully remove any remaining ink and install the brand-new sublimation ink cartridges. It’s akin to swapping the original soundtrack of a movie with your custom music playlist—meticulously tailored to fit the mood.
Step 3: Selecting Sublimation Paper
Now that our printer is ready, the next step is to load it with sublimation paper. Regular paper can’t hang in there with the sublimation ink, causing disruptions in our otherwise seamless process. This special paper ensures that the ink transfers correctly during the heat application phase.
Step 4: Printing the Design
With the sublimation paper snug in its tray and sublimation ink ready for action, it’s time for us to print our design. It’s best to use design software to create or upload our desired images. Remember to select the correct settings on the printer, ensuring the highest quality output.
Step 5: Transferring the Design with a Heat Press
The printed design on sublimation paper is just the beginning. Now, it’s time for the heat press machine to do its bit. We position our paper design-side down onto the item we’d like to customize, secure it with heat-resistant tape, and then engage the heat press. Follow the guidelines of temperature (usually around 400°F) and duration (often between 45-60 seconds depending on the material), and then, voila! The design beautifully transfers to the selected item.

Troubleshooting Common Issues
Embarking on converting an inkjet printer doesn’t always go off without a hitch. Along the way, we might hit some snags. Here are a few common issues and their solutions to ease the ride.
Color Inaccuracy
One issue could be that our colors don’t come out as vibrant as expected. Double-checking the printer settings and ensuring that the right ICC profiles are used can help remedy this. ICC profiles are essentially guides that tell our printers how colors should appear.
Ink Blockage
Sometimes the sublimation ink can lead to blockages in the printhead. Running a printer nozzle cleaning operation can frequently alleviate this issue. Remember, our printer, like us, needs a little maintenance from time to time.
Uneven Transfers
If the heat press doesn’t apply even pressure or heat, the transferred image could appear patchy. Ensuring that the heat press has been preheated appropriately and applied with even pressure is crucial to smooth prints.
Benefits of Converting an Inkjet Printer to a Sublimation Printer
Now that we’ve discussed the nitty-gritty of converting our printer and addressed potential speed bumps, it’s time to look at the bright side. Why should we consider this adventure?
Cost Efficiency
Purchasing a dedicated sublimation printer can be quite costly. Converting an existing inkjet printer is a budget-friendly alternative. It allows us to experiment extensively without the heavy initial investment.
Creative Freedom
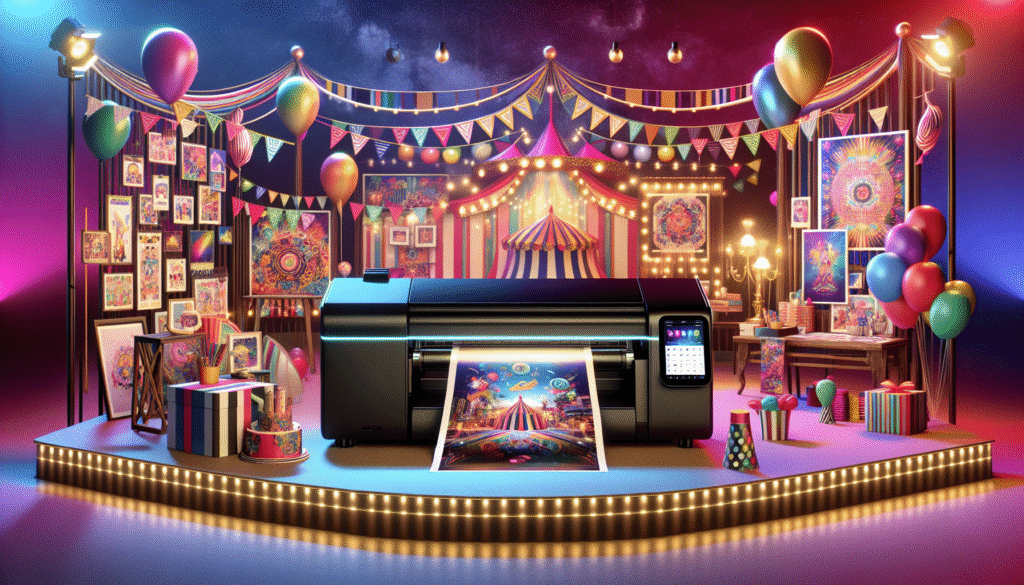
Once we start sublimation printing, the world is our canvas—or at least the polyester world. We have the liberty to print custom designs on a range of items, from ceramic mugs to t-shirts to phone cases. It’s where creativity meets innovation.
Business Opportunities
For those of us with entrepreneurial spirits, a sublimation printer opens doors to business opportunities. Custom print services are in demand, and having the equipment allows us to cater to niche markets right from the comfort of our home or workspace.
Final Thoughts on Enhancing Our Printing Venture
Converting an inkjet printer into a sublimation printer is certainly not without its challenges, but the rewards can be immensely satisfying. From understanding the intricate steps to fix potential setbacks, we’ve equipped ourselves with the knowledge to turn our imaginative ideas into tangible items. Whether we’re pursuing it for a hobby, as a side hustle, or as an integral part of our business, this conversion process allows us to explore the endless possibilities of sublimation and adds a dash of the unexpected to our regular printing routine.
In the end, like any good project, it demands a little investment of time and effort. But just as our prints will show, a splash of color and a touch of care can lead to designs that stand out and captivate.