Do you ever catch yourself staring at a half-finished print and wondering if the machine is judging you as much as you’re judging it?


Why I Chose the Creality Ender 5 Max for My Workshop
I had plenty of reasons to pick another printer, which is exactly why I didn’t. I wanted speed, volume, and a first layer that didn’t ask me to chant incantations before hitting “Start.” The Creality Ender 5 Max promised all three—and a little drama—so I brought it home.
My Needs and Expectations
I needed a machine that could churn out big functional parts, but also handle batches of small prints without turning my week into an anxious waiting game. My expectations were simple: fast, reliable, and capable of producing a clean first layer without me hovering like a parent on the first day of kindergarten.
What Caught My Eye on the Spec Sheet
Two numbers hooked me: 700 mm/s and 400 × 400 × 400 mm. Then the 64-point auto leveling reeled me in, followed by the 1000W heatbed that sounded like it could toast a baguette in a pinch. The 300°C hotend felt like a welcome invitation to try more advanced materials without immediately shopping for upgrades.

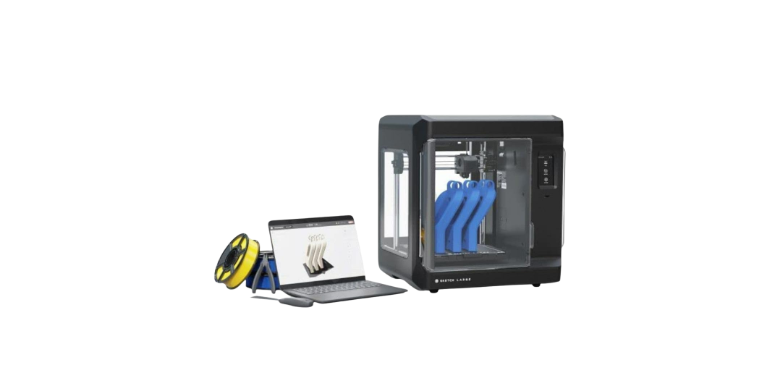
Creality Ender 5 Max 3D Printer, 3D Printing Machine with 700mm/s High-Speed Printing, 400 * 400 * 400 Large Print Area, 64-Point Auto Leveling 300℃ High Temp Precise Linear Rail
$749.00 In Stock
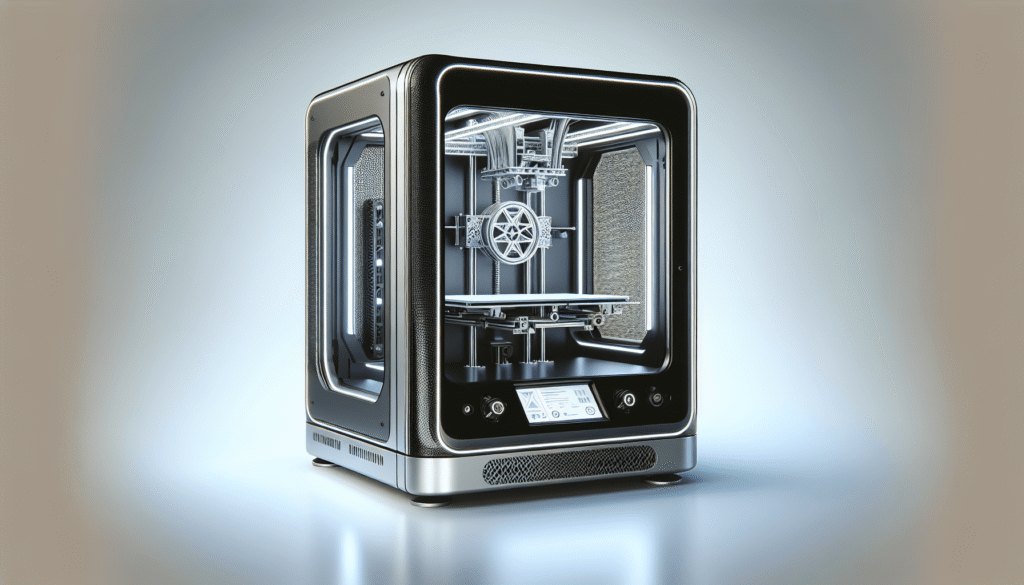
Unboxing and First Impressions
I’ve opened a lot of printers that felt like a moving day gone wrong. This wasn’t one of them. The Ender 5 Max was packed like it had somewhere important to be and didn’t want to arrive wrinkled.
Packaging and Protection
Foam inserts cradled the frame, and the components arrived as if they hadn’t been on a truck at all. Nothing rattled. Nothing wobbled. I did not find a loose screw and start questioning the choices I’ve made since high school.
What Was in the Box
Everything I expected was there: the main frame, bed assembly, tool kit, spare nozzles, and the usual accessories. The wiring harness was neatly bundled, which is always reassuring, like meeting a dentist with perfect teeth.
Setup and Assembly
Assembly took me a Sunday afternoon and provided just enough challenge to make me feel accomplished without needing to call a friend who owes me a favor.
Frame and Mechanics
The reinforced cubic frame is the quiet hero here. It supports the 400 mm cube build volume without flex or wobble. The machine uses precise linear rails, which is what you want when you’re asking it to move at “please don’t rattle apart” speeds.
Wiring and Cable Management
I appreciated the tidy cabling and strain relief points. Nothing felt like an afterthought. The routing won’t win a design award, but it won’t snag your sweater either.
Firmware and Initial Calibration
After powering on, I ran through the standard setup: firmware check, language and units, bed leveling routine. The 64-point auto bed leveling is very hands-off. I watched it probe the bed like a chess player studying an endgame, and then it announced everything was fine. I don’t normally trust this kind of optimism, but the first layer made me a believer.
Speed Claims vs. Reality
Advertised speed is one thing; printing a functional part without ringing or melted corners is another. I like ambition, but I also like results.
700 mm/s: What It Means in Real Life
Yes, the Ender 5 Max can hit high movement speeds. In practical terms, my best results came in the 200–350 mm/s range for standard PLA, 100–200 mm/s for PETG, and slower for ABS/ASA. That’s still very fast compared to most consumer machines. If you crank the speed to the ceiling without tuning, you’ll end up with a modern sculpture of your print, which is fine if you are trying to impress an art critic, less so if you just wanted a phone stand.
Acceleration, Cornering, and Control
Even more important than speed is acceleration. With reasonable accel values, the machine keeps crisp corners and avoids ringing. I made modest tweaks in the slicer and saw immediate improvements. It’s like jogging instead of sprinting: you still get there quickly, with a lot less gasping.
Linear Rails and Stability
The linear rails help keep motion tight and reliable at speed. I noticed excellent layer registration on tall prints—no leaning towers, no mid-print hesitation. It handles direction changes much better than the belt-only designs I’ve used in this size class.
Print Quality and the All-Important First Layer
If the first layer is wrong, everything that comes after is therapy. I refuse to negotiate with a bed leveling routine. The Ender 5 Max seems to understand this boundary.
64-Point Auto Leveling: Set It Once, Breathe
I didn’t have to shim, twist, or perform interpretive dance in front of the printer. The automatic calibration mapped the bed with 64 points and laid down the first layer like it knew it would be judged. On first try, lines were consistent, no bald patches, no needless squish. This is the kind of first layer that feels like a peace treaty.
Adhesion and Bed Surface Behavior
With PLA and PETG, I stuck to moderate bed temperatures and had consistent adhesion. For ABS/ASA, the 1000W bed reached temp quickly and maintained it. I still used an enclosure because I enjoy my parts not warping like a potato chip. A PEI sheet or adhesive aid can help for large ABS/ASA pieces, but many prints stuck perfectly to the stock surface with proper temps.
Dimensional Accuracy, Surface Finish, and Bridging
Dimensional accuracy was better than I expected for a machine this large, provided I didn’t go full throttle on speed. I hit tight tolerances for functional parts after a quick flow calibration. Surface finish was smooth on vertical walls, with little ghosting at reasonable speeds. Bridging behaved well with proper cooling; I did some test lattices that didn’t droop like sleepy cats.
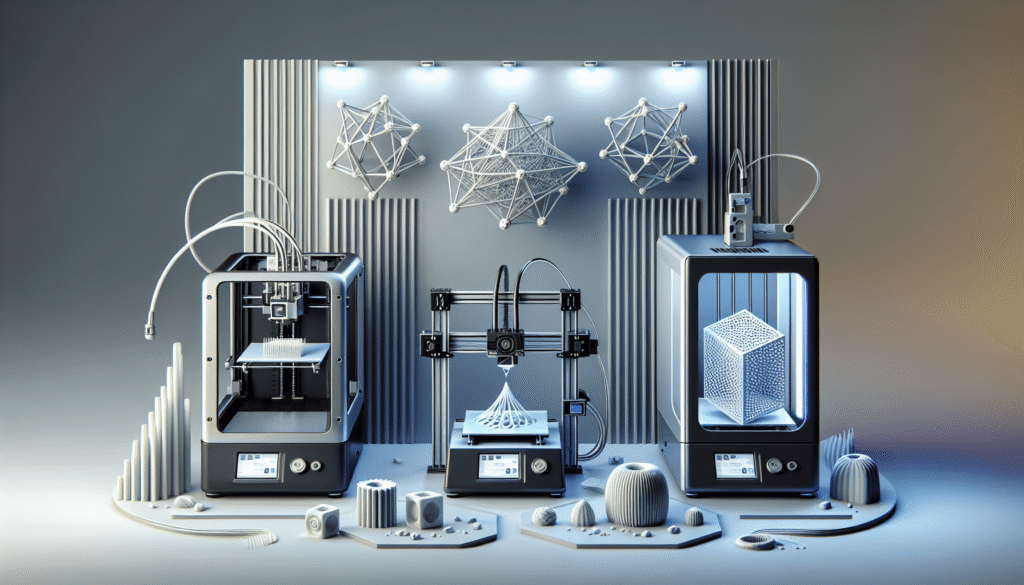
Build Volume: 400 × 400 × 400 mm
Having a spacious build volume is the difference between printing a helmet in four awkward segments and printing a helmet you actually want to wear without a suspicious seam down your forehead.
Big Models in One Piece
I printed a full-size cosplay pauldron and a lampshade in one go. Both came out well, and the quality didn’t degrade toward the edges of the bed the way I’ve seen on smaller machines pushed to their limits. The full volume is not just a number—they actually made it usable.
Batch Printing Without Babysitting
When I needed a dozen bracket parts, I arranged them in a grid and walked away. The large bed meant I didn’t have to pack them too tightly, and the auto leveling made sure the corners behaved. The machine seems to like having a full plate; it hums with purpose, the way people do when they vacuum.
Materials and Temperature Performance
I’m greedy when it comes to materials. If I buy a machine, I want it to handle more than vanilla PLA. The Ender 5 Max obliged.
PLA and PETG: The Everyday Workhorses
PLA ran beautifully at high speeds. PETG asked for slower movements and a little more cooling finesse, but stayed consistent. I had excellent adhesion without elephant’s foot when I set initial layer lines a touch wider and watched the Z-offset like a hawk for the first minute.
ABS and ASA: Warping Management
With ABS and ASA, the 1000W bed is a gift. It gets to temp fast and holds it. I used an enclosure for these materials; otherwise, you’re inviting drafts to ruin your day. The printer played nicely here—no sudden hiccups, no fans kicking on unexpectedly and shocking the model.
PA (Nylon) and Blends
I ran a couple of nylon prints at elevated nozzle temps and a carefully controlled bed. They came out sturdy and clean. For fiber-filled nylons, I swapped to a hardened nozzle because I enjoy not eroding the stock one. This isn’t unique to this printer, but it’s a good habit if you value repeatability.
300°C High Temp Headroom
That 300°C ceiling matters. It means you’re not immediately shopping for an all-metal hotend upgrade. I didn’t need to push it to the max for most materials, but the flexibility is there when you want it.
Heatbed Performance and Power
A big bed is only useful if it isn’t a slow cooker. The Ender 5 Max understands urgency.
1000W Bed, Fast Heat-Up
The aluminum bed reaches 80°C in roughly a few minutes. Getting to 100°C took a bit longer, but still quick enough that I wasn’t reorganizing my sock drawer waiting for the beep. That speed shaved real time off my overall workflow, especially when I was batch-printing parts and needed to re-run jobs quickly.
Power Draw, Outlets, and Safety
A 1000W bed means real power consumption. On a standard household circuit, I had no issues, but I made sure not to run a space heater on the same line. The heating felt controlled, no sudden overshoots, and the thermal stability once it reached setpoint was excellent.
Living With the Machine
A printer isn’t just a tool; it becomes a background character in your life, humming away and flashing lights like it’s calling a distant mothership.
Noise and Vibration in Day-to-Day Use
At sensible speeds, the machine was reasonably quiet. At higher speeds, the motion noise grew but stayed tolerable. The rigid frame and linear rails help keep rattles down. I added some anti-vibration feet, which made a difference for the table and my sanity.
Status Light: The Most Honest Roommate
The 3-color status light is surprisingly helpful. I could be across the room—or apparently up to 10 meters away—and know if the machine was heating, printing, or sulking. It saved me a lot of back-and-forth trips, and I appreciate that kind of silent partnership.
Controls and Usability
The interface is straightforward. I didn’t have to find a secret submenu to preheat or change filament. It is obvious about what it’s doing, when it’s doing it, and why. That kind of clarity feels rare.
Software, Slicers, and Settings
Hardware is half the story; settings decide the ending, and slicer profiles can be small miracles or soft disasters.
Slicer Compatibility and Profiles
I used Cura and PrusaSlicer without issues. Starting from a typical Creality profile, I dialed in jerk, accel, and flow for each material. The printer responded predictably to changes, which is the hallmark of a well-tuned motion system.
Speed Tuning and Realistic Settings
For fast yet clean results, I found:
- PLA: 220–260 mm/s outer walls at 0.2 mm layer height, with higher speeds for infill
- PETG: 120–180 mm/s outer walls, more moderate cooling
- ABS/ASA: 80–140 mm/s outer walls, steady bed temps and an enclosure
- Nylon: 60–120 mm/s, minimal cooling, slow and steady wins the part
That’s where quality, speed, and sanity intersected for me.
Reliability Over Time
A printer’s honeymoon phase is sweet, but I care more about what it’s like after the first handful of spools.
Maintenance and Upkeep
I kept maintenance simple: check belts, wipe rails, and keep the bed surface clean. The linear rails stayed smooth, and the motion assemblies didn’t develop play. I tightened a few fasteners after the first week and then forgot about them. That’s my kind of long-term relationship.
Spare Parts and Upgrades
It’s Creality, so parts are everywhere. That ubiquity matters when you’re on a deadline and need a new nozzle by Thursday. I tried a hardened nozzle for abrasive blends and a PEI build plate for convenience. The base machine didn’t demand upgrades, which is the strongest recommendation I can make.
Pros, Cons, and Who It Suits
No printer is perfect. But the right printer is perfect for you, and possibly your neighbor when you loan it out for a weekend and then immediately regret it.
What I Loved
- It’s genuinely fast in real-world scenarios, not just on paper.
- The 64-point auto leveling actually works, making first layers boring in the best way.
- The 400 × 400 × 400 mm build volume unlocks projects I’d stopped considering.
- The 1000W bed heats quickly and maintains temperature like a pro.
- The linear rails and sturdy frame deliver stable, predictable results.
What I Didn’t
- Pushing the highest speeds needs careful tuning or prints start to look haunted.
- The large footprint demands a sturdy table and a bit of floor planning.
- Power draw is significant; share circuits politely.
- For ABS/ASA, you’ll want an enclosure, which adds cost and bulk.
- Tall prints are fantastic, but do test bed mesh and Z-offset before launching a 24-hour job.
Who Will Be Happy With It
- Makers who need big parts without stitching them together post-print
- Small-batch producers who want to run multiple items at once
- Tinkerers who like tuning, but also appreciate a machine that behaves sensibly by default
- Anyone tired of cajoling first layers into working

My Test Results at a Glance
Sometimes it’s easier to see the story in a snapshot. Here’s how a handful of test runs shook out for me.
| Material | Nozzle Temp | Bed Temp | Target Speed (Outer Walls) | Result | Notes |
|---|---|---|---|---|---|
| PLA | 215°C | 60°C | 240 mm/s | Clean | Minimal ringing, crisp corners |
| PLA | 225°C | 60°C | 320 mm/s | Good | Slight softening on fine text |
| PETG | 240°C | 80°C | 160 mm/s | Excellent | Smooth layers, strong adhesion |
| ABS | 245°C | 100°C | 120 mm/s | Very Good | Enclosure required, minimal warp |
| ASA | 255°C | 100°C | 120 mm/s | Very Good | Matte finish, strong interlayer |
| Nylon (PA) | 260–275°C | 80–90°C | 100 mm/s | Good | Dry filament essential |
| PLA (Detail) | 205°C | 60°C | 120 mm/s | Excellent | Fine features, sharp overhangs |
These are my personal results with a reasonably tuned slicer profile. Your results may differ based on filament brand, room conditions, and whether your dog has strong opinions about airflow.
Tips That Made a Difference for Me
I like printers that are forgiving. I like them even more when they reward good habits.
Nail the First Layer Without Fuss
- Clean the bed with isopropyl alcohol between prints—simple, but it matters.
- Let the 64-point mesh do its job; don’t override it with manual shims on day one.
- Adjust Z-offset in tiny increments during the first skirt line; go slow and commit.
Manage Warping on Big Prints
- Add a 5–10 mm brim for ABS/ASA and tuck it into an enclosure.
- Keep the room free of drafts; no open windows, even if your kitchen smells like ambition.
- Consider a textured PEI plate for consistent adhesion and painless removal.
Get Speed Without Regret
- Balance acceleration with quality; small numbers can yield big visual wins.
- Bump infill speeds higher than outer walls; it’s where you can safely save time.
- Use adaptive layer heights on curvy models for faster prints without sacrificing detail.
Frequently Asked Questions I Had Before Buying
If you’re anything like me, you want answers before your cart becomes a commitment.
Can it really print at 700 mm/s?
It can reach very high movement speeds, yes. For quality parts, I found my best balance well below that, in the 200–350 mm/s range for PLA and slower for technical materials. The point is not the number—it’s that this printer doesn’t flinch when you ask it to hustle.
Will my outlet handle a 1000W bed?
A typical household circuit handled it fine for me, as long as I wasn’t running other heavy appliances on the same line. If your home wiring is eccentric, give it a dedicated outlet or at least a little space to breathe.
How much room do I need?
Make sure you’ve got a sturdy table and clearance around all sides, plus extra height if you’re running tall prints. It’s a big machine, and it deserves more than a wobbly end table from your college years.
Do I need an enclosure?
For PLA and PETG, no. For ABS, ASA, and nylon, an enclosure is strongly recommended. The bed power gets you to temperature quickly, but ambient control is what keeps those layers from lifting.
Is the first layer really that good?
Yes. The 64-point mesh and consistent motion system delivered a first layer that didn’t make me reach for painter’s tape or emotional support glue. I still watch the first minute or two, because I’m me.
How hard is maintenance?
Not hard. Keep rails clean, check fasteners, and treat the bed with basic respect. Swap to a hardened nozzle if you’re printing abrasive filaments. The rest is housekeeping.
Where This Printer Changed My Workflow
Speed and volume together are a rare and satisfying combination. I used to avoid big projects because waiting 48 hours for a part tests my patience and the patience of anyone who shares a wall with me. With the Ender 5 Max, I broke up the long jobs into fewer segments, and the machine didn’t punish me for wanting to get things done quickly. The 1000W bed trimmed real time off each session, and the first layer reliability meant I didn’t babysit. That’s the dream: start a print and do something else with your life.
Small Gripes, Big Picture
I’m always going to have minor complaints. When pushed past sensible acceleration, the printer will tell you to calm down with gentle ripples on the walls. It’s large enough to demand a thoughtful setup in your room. And while it’s efficient for what it does, the power draw is not shy. These aren’t dealbreakers; they’re honest trade-offs for a machine that’s comfortable doing large, fast, and consistent work.
Who Should Skip It
If you only print tiny minis and never plan to scale up, you might not need this much machine. If your space is limited to a narrow shelf, measure twice. If you want a whisper-quiet printer in a small apartment, consider your sensitivity to motion noise at high speed or set realistic speed caps. But if you do need volume and pace, it’s hard to beat.
A Few Real Projects That Won Me Over
- A full-size cosplay shoulder piece, printed in one piece, finished with light sanding. No visible layer shifts. I didn’t have to hide seams with paint trickery.
- A 3D printed lampshade using translucent PETG, tall and thin. Minimal Z wobble. It looked store-bought, in a pleasant, I-made-this way.
- A batch of 12 functional drawer slides in PETG, aligned edge to edge. All identical, all within tolerances without post-processing surgery.
- A rugged tool caddy in ASA for the garage. It shrugged off the summer heat like a lizard on a rock.
Where It Surprised Me
The 3-color status light. I didn’t know I needed a machine that communicates with a silent glow, but I found myself relying on it. I also didn’t expect the high-temp capability to be so well integrated. Many times, “high temp” in this category means “congratulations, you are now an unpaid engineer.” Here, it was simply an invitation to expand my filament drawer.
What I’d Tell a Friend Who’s Considering It
Ask yourself what you want to make this year. If your list includes big items, batch runs, or technical materials that benefit from serious bed heat and a stiff frame, this printer is a strong pick. If you just want a fuss-free first layer and a quick sprint through everyday jobs, it does that too. The Ender 5 Max is ambitious without being chaotic, and that’s not a combination I find often.
Final Verdict
I wanted a printer that could move fast without turning my parts into cautionary tales. I wanted real build volume, not just a marketing boast with asterisks. I wanted a first layer that didn’t play hard to get. The Creality Ender 5 Max delivered on all three. It won’t break physics, but it will bend your project timeline in your favor. If you treat it with a little respect—sane acceleration, material-appropriate temps, an enclosure for the finickier plastics—it returns the favor with consistent, confident prints.
I’ve kept it on my main bench, not the back wall where machines go to “think about what they’ve done.” It’s earned that real estate with speed, stability, and a first layer that lets me walk away without a second thought. For a large-format workhorse that doesn’t overcomplicate its job, this one feels like the obvious choice.
Disclosure: As an Amazon Associate, I earn from qualifying purchases.