Have you ever found yourself staring at your new laser printer and wondering how on earth you’re supposed to connect it to your Wi-Fi? I have been there too, and trust me, it doesn’t need to be a daunting task. Today, I’ll take you through the steps necessary to get your laser printer up and running on your Wi-Fi network without a hitch.
Understanding Your Laser Printer
Before venturing into the deep end of settings and configurations, it helps to start with a basic understanding of what your laser printer is and how it functions. Laser printers work by using a laser beam to produce an image on a drum, which is then transferred to paper. They are known for their speed, precision, and efficiency, particularly when printing high volumes.
The Benefits of Wi-Fi Connectivity
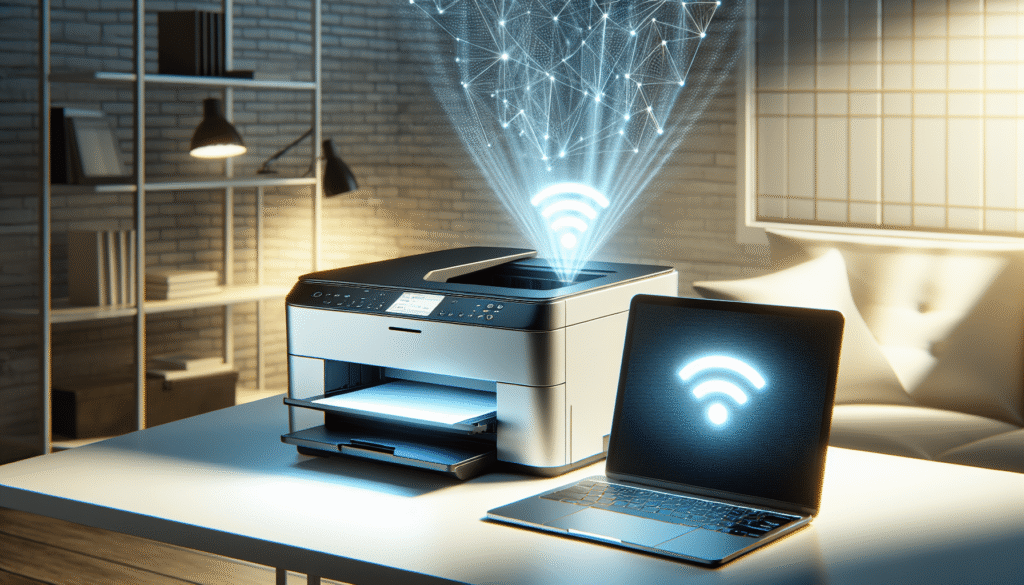
Being able to print without the hassle of plugging and unplugging cables every time is liberating. With your printer connected to Wi-Fi, you can print from nearly any device in your home or office, whether it’s your desktop, laptop, tablet, or smartphone. The flexibility it offers is incredible. So, let’s break down the steps to connect your laser printer to Wi-Fi.
Initial Steps Before Connecting
Before we jump into the process, there are some initial steps and checks you should perform to ensure a smooth transition.
Check Printer and Router Compatibility
First and foremost, it’s crucial to ensure that both your laser printer and router are compatible with wireless connectivity. Most modern printers have Wi-Fi capabilities, but it’s always good to double-check your printer’s specifications, just to be sure. Similarly, confirm that your router supports wireless devices.
Gather Necessary Information
To connect your printer to the network, you’ll typically need some essential details:
- Wi-Fi Network Name (SSID): Your network’s name will appear on your printer’s screen or your device’s Wi-Fi search list.
- Wi-Fi Password: Ensure your password is handy. It’s like the key to your internet kingdom, so you’ll want it available when setting up the connection.
Update Printer Firmware
Before beginning the connection process, it’s also advisable to check for any updates or firmware upgrades for your printer model. Your printer manufacturer’s website should have the latest firmware, which can help improve performance and compatibility issues with newer devices.
Connecting To Wi-Fi: Step-by-Step Guide
Alright, let’s dive into the step-by-step process. Remember, each printer can be slightly different, so these steps are more of a general guideline.
Step 1: Power On Your Printer
Let’s start with the basics. Ensure that your printer is plugged in and turn it on. You want it to be in a ready state before starting the connection process. Some printers might undergo a quick warm-up phase, so give them a minute.
Step 2: Access the Printer’s Control Panel
Navigate to your printer’s control panel. This is often a touchscreen or physical buttons on many models. Here, you will want to look for the settings menu. It might be labeled as “Menu,” “Setup,” or something similar.
Step 3: Select the Network Settings
Once you’re in the settings menu, find the network section. Within this area, there should be an option for wireless settings. You are looking for a function often labeled as “Wi-Fi Setup Wizard” or “Wireless LAN setup.” It’s your golden ticket to wireless printing.
Step 4: Choose the Wi-Fi Network
In the Wi-Fi setup section, your printer should search for available networks. It will typically list all Wi-Fi networks in range. Look for your home network’s SSID and select it from the list.
Step 5: Enter the Wi-Fi Password
Now, you’ll need to enter your Wi-Fi password. This is where things can get a bit tricky, especially if your printer uses an outdated interface for entering text. Patience is key here. Take your time typing in the password correctly—accuracy matters.
Step 6: Connect and Confirm
After entering the password, your printer should attempt to connect to the network. If successful, you should see a confirmation message or indicator. If it fails, double-check your password and try again.
Step 7: Print a Test Page
Once connected, it’s always a good idea to print a test page to ensure everything is functioning correctly. This simple action confirms that your connection is secure, and your printer is ready to handle tasks as needed.
Troubleshooting Common Issues
So, what happens if something goes wrong? It’s not uncommon to face a hiccup or two. Here are a few common issues and their solutions.
Connection Fails
If your printer won’t connect, make sure it’s in range of your Wi-Fi network. Try moving it closer to the router to see if that resolves the issue. Double-checking the SSID and password can also help.
Printer Not Found
At times, your device might not be able to find the printer even after it has been connected. Ensure both your printer and device are connected to the same Wi-Fi network. Restarting both gadgets can sometimes resolve this minor glitch.
Network Drops
If the connection keeps dropping, check for network interference. Devices like microwaves and cordless phones can sometimes cause disruptions. Make sure your router is on a clean channel and free from interference.
Password Issues
Mistyping the Wi-Fi password is one of the most common issues. Make sure your caps lock is not accidentally on, and you don’t have any extra spaces when entering the password.
Advanced Features and Settings
Once your printer is connected, explore some advanced settings and features that can make life even easier.
Mobile Printing
Many modern printers support mobile printing. Apps like Apple AirPrint, Google Cloud Print, or manufacturer-specific apps can allow printing directly from your smartphone or tablet. Check if your printer supports any of these for added convenience.
Secure Printing
If security is a concern, many printers offer options for secure printing. Features like PIN protection require a code to be entered before a print job can proceed, adding an extra layer of security, especially useful in office environments.
Firmware Updates
Regularly checking for firmware updates ensures your printer has the latest features and security enhancements. It’s similar to software updates on your computer and helps keep everything running smoothly.
Wrapping Up the Journey
By now, I hope connecting your laser printer to Wi-Fi doesn’t seem as intimidating as it might have at the start. With a little patience and basic understanding, you can unlock the full potential of your printer. Enjoy the newfound freedom of wireless printing and the convenience it brings to everyday tasks. So, what are you waiting for? Get out there and start printing away!
