Have you ever marveled at the seamless process of creating a 3D object from a digital model? I certainly have, and it’s all thanks to something called slicing. Slicing may sound like I’m about to prepare a fruit salad rather than a 3D print, but it’s actually one of the most crucial steps when it comes to turning those nifty digital designs into physical realities.
Understanding the World of 3D Printing
Before diving into the specifics of slicing, let’s go over the basics of 3D printing so we’re on the same digital page. 3D printing, or additive manufacturing, is the process of creating a three-dimensional object from a CAD model. It’s like magic, but with more computers involved and less waving of wands.
There are different types of 3D printing technologies such as Fused Deposition Modeling (FDM), Stereolithography (SLA), and Selective Laser Sintering (SLS). Each has its own quirks and requirements—like learning which side of your toast you prefer buttered. Today, though, we’ll focus on the FDM process, as it’s the most common method used by hobbyists and those just starting out.
Fused Deposition Modeling (FDM)
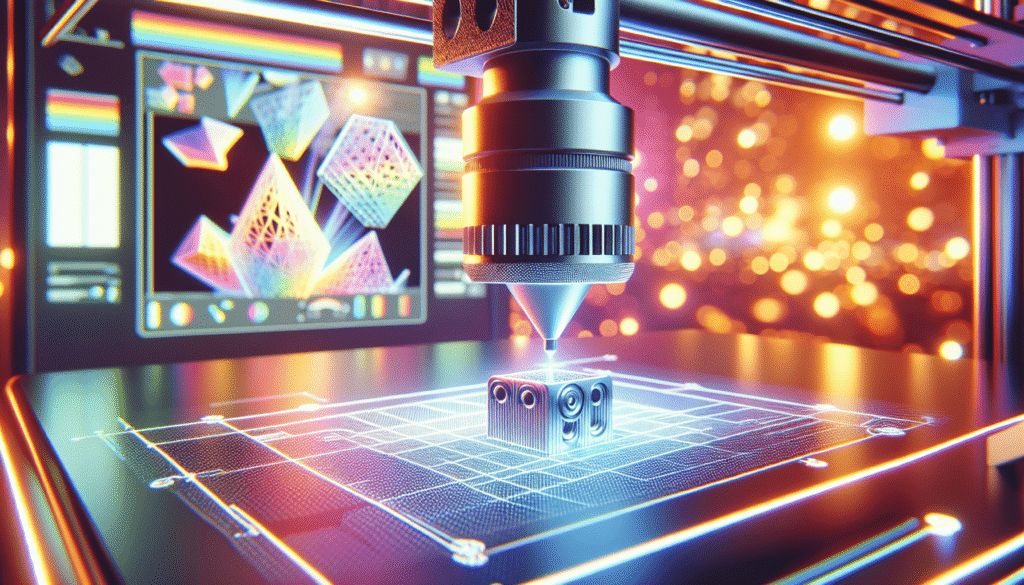
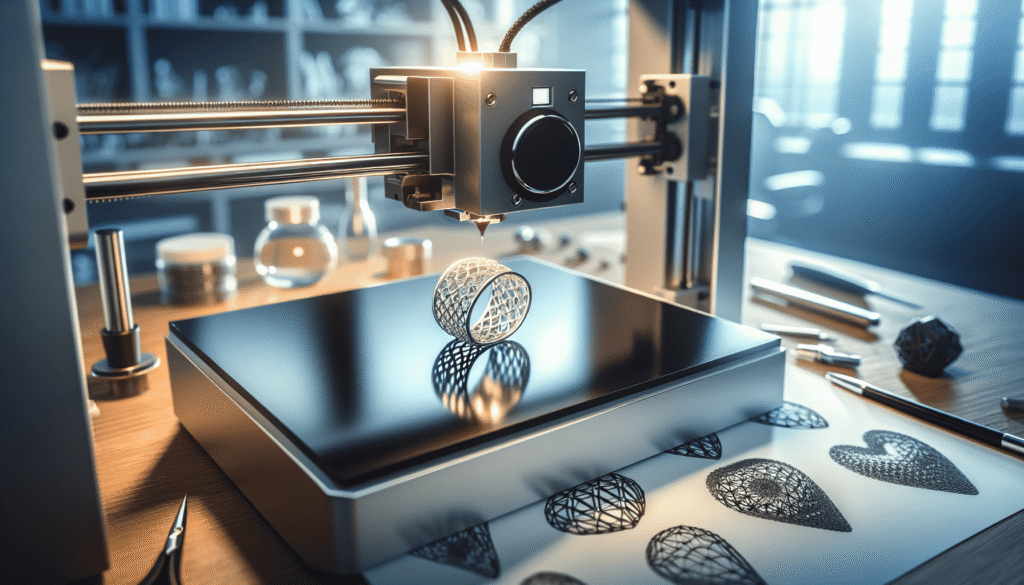
FDM is akin to icing a cake layer by delightful layer. It uses a continuous filament of thermoplastic material, which is fed from a large spool through a heated printer extruder head. The head moves, laying down molten plastic, and builds the object from the ground-up. FDM is popular because it’s accessible and cost-effective.
Getting to Grips with CAD
Before anything can be printed, it first needs to be designed or sourced. Computer-Aided Design (CAD) software is used to create 3D models. If you’re like me and have a penchant for shiny things but little patience, the internet is brimming with pre-made models, just waiting for you to download and print.
The Slicing Process
Once you have your model ready, the fun begins—or at least the part I find most thrilling. This is where slicing comes into play. And no, I’m not talking about your knife skills.
What is Slicing?
In the simplest terms, slicing is the process of converting a 3D model into a series of thin, horizontal layers. These layers guide the 3D printer on how to construct the model. Think of it like taking a loaf of bread and cutting it into individual slices before pulling out the butter and jam.
Slicing Software
Slicing requires specialized software that translates your 3D model into a language your printer understands—G-code. This G-code tells the printer precisely where to move, how much filament to extrude, and what speed to work at. The choice of slicing software can be as personal as choosing your favorite coffee or the perfect pair of socks.
Here are some popular options for slicing software:
| Software | Features | Price |
|---|---|---|
| Cura | Open-source, user-friendly, extensive community support | Free |
| PrusaSlicer | Developed by Prusa Research, customizable, advanced features | Free |
| Simplify3D | Highly detailed settings, paid software, advanced support | $149 one-time |
Steps to Slice a Model
Alright, let’s get into the nitty-gritty—the part where you move from admiring your digital design to prepping it for the real world.
1. Import the Model
First, open your chosen slicing software and import your STL or OBJ file. These are the common file formats for 3D models. Drag and drop it like it’s hot (or, you know, just click the ‘open’ button).
2. Orientation and Positioning
Next, you’ll fiddle around with your model’s position on the virtual print bed. Placement affects how the object prints—the orientation can influence strength, printing time, and surface finish. It’s a bit like deciding how to place a painting on a wall: straight, tilted, or upside down (if you’re feeling rebellious).
3. Choose Print Settings
These settings will include:
- Layer Height: Determines the smoothness of the final print. Finer layers yield better quality.
- Infill Density: Dictates the internal structure. Higher infill means stronger prints but uses more filament.
- Print Speed: Faster speeds reduce print time but can affect quality.
- Support Structures: Helps with overhangs—like scaffolding for your model.
Customizing these settings is a mix of science, art, and a bit of trial and error.
4. Generate the G-code
Now that your settings are dialed in, it’s time to slice! This generates the G-code, which is the blueprint for your printer. It’s almost like magic, except translating a thousand points of data instead of pulling a rabbit out of a hat.

Tips for Optimal Slicing Results
A perfect slice can be an elusive art form. Much like cooking, the right ingredients and techniques make all the difference.
Adjusting Layer Height
Balancing between speed and quality comes down to layer height. A smaller layer height gives more detail but takes longer, while a larger layer height speeds things up but might lose intricate details. It’s like choosing between a sprint and a leisurely walk.
Infill Patterns
You can select different infill patterns like grid, honeycomb, or triangular. Each offers varying strengths and can affect weight. A honeycomb pattern, for instance, is lightweight yet strong—great for weight-conscious projects (much like swapping in a salad for fries).
Support Structures
Supports are necessary for complex prints with overhangs that might collapse under gravity’s unrelenting grip. Imagine trying to build a bridge without scaffolding—your print might end up in a dismal heap below the print bed.
Calibration is Key
Make sure your printer is properly calibrated. A well-calibrated printer is like a well-oiled machine (literally and metaphorically). Keep an eye on the nozzle distance from the bed, filament feeding, and bed leveling.
Troubleshooting Common Slicing Problems
Even with the best-laid plans, sometimes things go awry. Here are a few common mishaps and how to troubleshoot them:
Warping
Warping happens when a print’s edges curl upwards, no longer adhering to the bed. This can often resemble a sad, droopy hat that refuses to sit right on your head. To combat warping:
- Use a heated bed.
- Apply adhesive materials like glue stick or painters’ tape.
Layer Shifting
Layer shifting is like a misaligned haircut—a new layer starts away from where the previous one left off. It’s less stylish. Check for loose belts and pulleys, and ensure the bed is level.
Poor Adhesion
If the print doesn’t stick during the first layer, it’s like trying to stack greasy pancakes. Make sure the print bed is clean, leveled, and a heated bed is used if necessary.

Closing Thoughts on 3D Slicing
Slicing, while initially daunting, becomes less so with practice and patience. Much like learning to dance or even perfecting the art of making a meticulously constructed sandwich, it takes time, experimentation, and perhaps a few missed steps. But when done right, the payoff is a beautiful print—bringing your imaginative designs to tangible life.
And there you have it, slicing explained in a slightly more digestible format. I hope this knowledge helps guide you through the wonderful world of 3D printing, where the only limit is your imagination (and maybe a few hardware constraints). Who knew slicing could be this entertaining? Go forth, slice with confidence, and print something spectacular.

