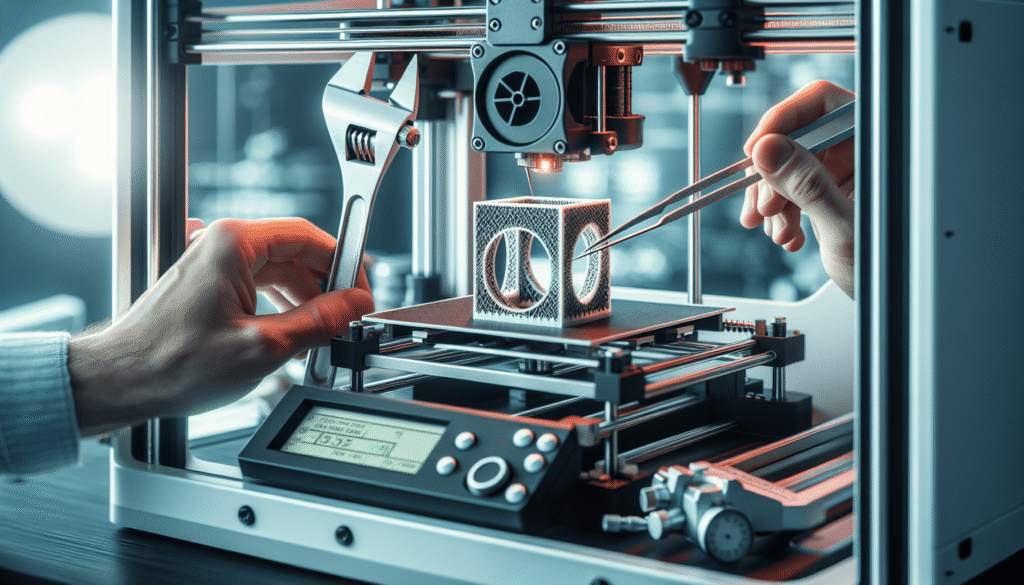
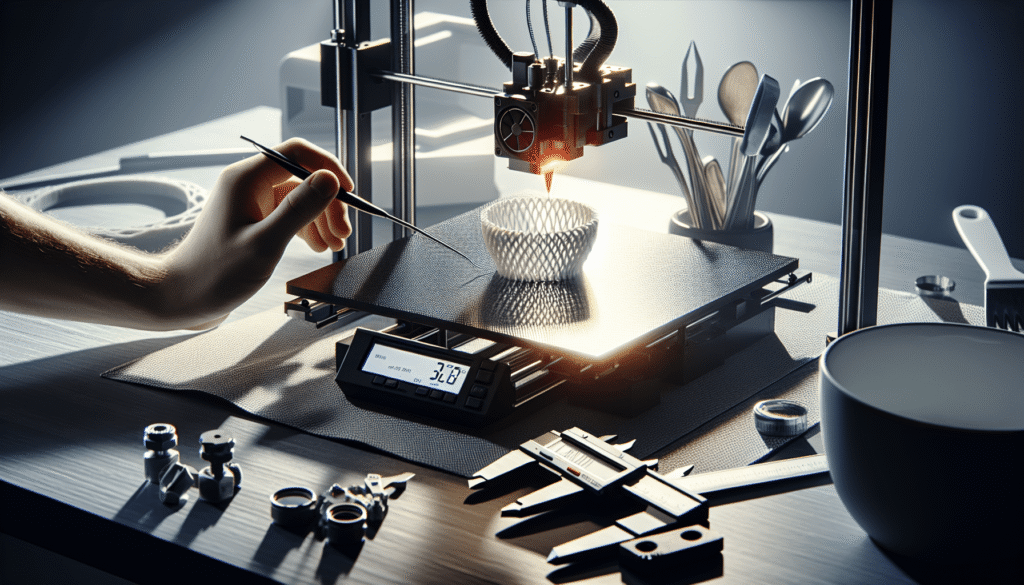
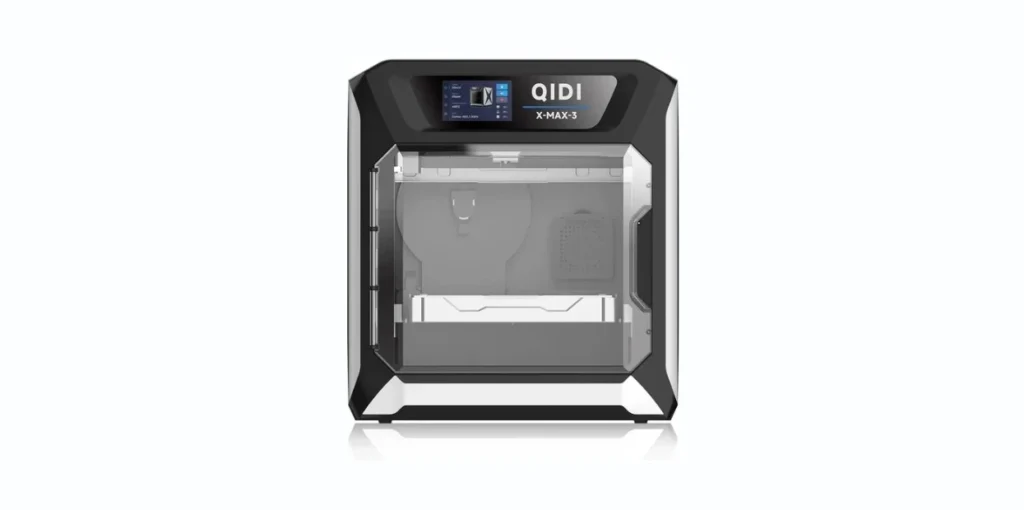
Have you ever spent hours meticulously designing a 3D model, only to find that your print warped and twisted like a Salvador Dalí clock? It’s a frustration shared by many in the 3D printing community, and believe me, I’ve felt this irksome disappointment myself. Warping in 3D prints is like an uninvited guest at a dinner party—unexpected and disruptive. Fortunately, there are strategies to bid farewell to this unwanted visitor.
Understanding Warping: What Is It and Why Does It Happen?
Before diving into solutions, it helps to grasp what warping is. Warping occurs when the edges of a 3D print start to curl upwards during printing. The root of this problem? Temperature changes. When the printed plastic cools unevenly, different parts of the print contract at different rates, leading to those frustratingly curved edges.
The Science of Cooling
When we understand the cooling process, managing warping becomes a bit more feasible. As the filament gets heated and extruded, it needs to solidify to form the structure of your design. However, different sections cooling at varying speeds can cause internal stresses, forcing the print to warp. It’s a bit of a balancing act that reminds me of trying to balance a plate of spaghetti in one hand while opening a door with the other—challenging, yet strangely rewarding when you get it right.
Materials Matter
Different materials have different properties. While ABS (Acrylonitrile Butadiene Styrene) is notorious for warping due to its higher glass transition temperature, PLA (Polylactic Acid) is more forgiving but not immune. Knowing your material is like knowing the peculiar dietary needs of a houseplant—it can save you a lot of grief.
Prevention is Key: Strategies to Avoid Warping
Avoiding warping is somewhat akin to putting sunscreen on before heading to the beach instead of nursing a sunburn after. Here are some preventive measures.
Adjusting Print Bed Temperature
Maintaining a consistent bed temperature is paramount. A heated bed allows for the bottom layers of your print to cool down slowly and evenly. Think of it like running a bath for Goldilocks—not too hot, not too cold, but just right.
Bed Adhesion: The Secure Anchor
Ah, bed adhesion! Imagine anchoring a boat securely to shore. Proper adhesion prevents the curling of those crucial first layers. A few tricks include using blue painter’s tape, applying a glue stick, or even using a special bed adhesive. Each method helps the first layer stick, combatting the warping battle at the front lines.
Enclosure to the Rescue
If possible, enclosing your 3D printer in a temperature-controlled chamber can work wonders. It acts as a cozy cocoon, minimizing temperature fluctuations and keeping the gremlins of warping at bay.

Problem Solving: How to Fix Warping Once It Occurs
Sometimes prevention fails, as it does with my perennial struggles with procrastination, and you must fix what’s already bent. Here’s how to address warping when it inevitably occurs.
Incorporating Brims or Rafts
This can be an effective workaround. Brims and rafts provide additional surface area, akin to adding stabilizing outriggers to a canoe. They help keep the edges pinned down till the print gains some structural integrity.
Difference Between Brims and Rafts
| Feature | Brim | Raft |
|---|---|---|
| Purpose | Reduces warping, increases bed adhesion | Provides a stable base for the entire print |
| Contact with Print | Surrounds the bottom layer | Print sits on top |
| Removal | Easier to remove | Can be more challenging to remove, depending on settings |
Adjusting Print Speed
A brisk pace can sometimes lead to disaster, much like speed reading misses the nuances of a juicy novel. Slowing the print speed gives layers more time to adhere properly and cool evenly, reducing the likelihood of warping.
Enhance Temperature Management
Sometimes tweaking the extruder’s temperature can be beneficial. Experimenting with a few degrees hotter can improve layer bonding, acting like an expertly brewed cup of your favorite tea—just warm enough to handle but not so cold that it loses its charm.
Trial and Error: The Pathway to Mastery
Much like growing succulents, the art of 3D printing is peppered with moments of trial and error. Indeed, each printing hiccup only sharpens your knowledge and skills. Every misstep becomes a stone in the path towards precise mastery.
The Role of Slicer Settings
Working with slicer software is like seasoning a stew—you need just the right blend of settings. From layer height adjustments to tweaking the infill pattern, every factor plays a role in keeping your print sturdy and warp-free.
Maintenance is Mindfulness
Regularly checking your printer’s calibration, adjusting the nozzle height, and ensuring the bed is clean, can make a world of difference. It’s akin to checking the air in your car’s tires to avoid a flat—and who feels prepared to change a tire on a winding road trip anyhow?

Picking the Right Material for Your Project
In the same way we wouldn’t don a wool sweater in the height of summer, choosing the right material for your project can significantly impact your success with warping.
Comparing Materials
| Material | Pros | Cons |
|---|---|---|
| PLA | Less prone to warping, easy to print | Lower temperature resistance, less durable |
| ABS | Strong, high temperature resistance | Prone to warping, emits fumes |
| PETG | Strong, flexible, resistant | Can string, requires careful settings |
Understanding the nature of your material of choice is crucial. PLA might be your best bet for small, intricate items, while ABS shines in its resistance to heat and impact, albeit needing more care in the initial layers.
Final Thoughts: An Ongoing Journey
Fixing warping in 3D prints is akin to planting a garden. It requires patience, care, and a willingness to try, fail, and try again. This journey transforms mistakes into stepping stones of experience. Warping doesn’t symbolize the failure of a print, but rather a subtle nudge towards innovation and adaptation. So, embrace those curling edges with a spirited resolve, and keep printing with hope and perseverance. Your masterpiece is just a layer away.

